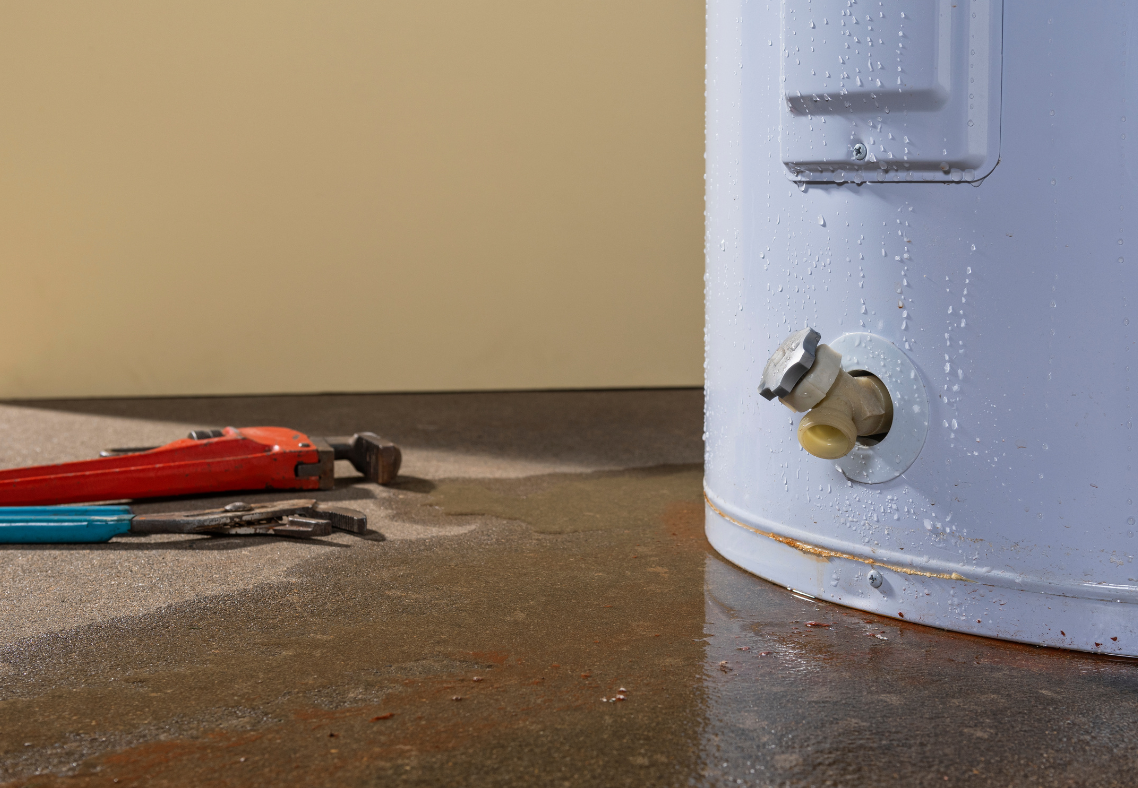
What Maryland Homeowners Should Do if Water Heater is Leaking from Bottom
Chason Service Engineers Inc. contact usA leaking water heater can be a significant concern for homeowners, especially when the leak is coming from the bottom of the unit. This issue can lead to water damage, reduced efficiency, and potential system failure if not addressed promptly. Understanding the causes of the leak and knowing the steps to take can help mitigate damage and restore your water heater to proper working condition. Here are essential actions Maryland homeowners should take if their water heater is leaking from the bottom.

Answering The Question: What should you do when your water heater is leaking from the bottom?
Identify the Source of the Leak
The first step in addressing a leaking water heater is to identify the source of the leak. While a leak from the bottom often indicates a serious issue, it’s essential to confirm where the water is coming from. Check the drain valve, the temperature and pressure relief valve, and the tank itself. Determining the exact source will help you decide on the appropriate course of action. Inspect the area around the water heater carefully, looking for any signs of moisture or corrosion that might indicate the leak’s origin. Understanding the leak’s source is crucial for implementing the correct repair strategy and preventing further damage.
Turn Off the Power Supply
Before you start inspecting or attempting to fix the leak, ensure that the power supply to the water heater is turned off. For electric water heaters, turn off the circuit breaker, and for gas water heaters, turn off the gas supply. This safety precaution is vital to prevent any electrical hazards or gas leaks while you work on the water heater. Additionally, turning off the power supply helps protect you from potential electric shocks and ensures that the water heater does not continue to operate while you address the leak. Safety should always be the top priority when dealing with electrical or gas-powered appliances.
Turn Off the Water Supply
After turning off the power supply, shut off the water supply to the water heater. Locate the cold water inlet valve, usually found at the top of the unit, and turn it clockwise to stop the flow of water. This step will prevent further water from entering the tank and exacerbating the leak. By stopping the water supply, you can limit the amount of water damage and create a more manageable situation for inspection and repair. It also allows you to safely drain the water heater if necessary, reducing the risk of flooding and making the repair process easier.
Drain the Water Heater
To properly assess and repair the leak, you may need to drain the water heater. Attach a garden hose to the drain valve at the bottom of the tank and direct the hose to a floor drain or an appropriate drainage area. Open the drain valve and allow the water to flow out of the tank. Be cautious, as the water may be hot. Draining the water heater not only helps in inspecting the tank for damage but also removes any sediment buildup that might be contributing to the leak. Once the tank is empty, you can thoroughly examine the interior and exterior for signs of wear, corrosion, or other issues.
Inspect and Tighten Fittings
Leaks can sometimes be caused by loose fittings or connections. Inspect all the fittings and connections around the water heater, including the inlet and outlet pipes, the drain valve, and the temperature and pressure relief valve. Use a wrench to tighten any loose connections, being careful not to overtighten and cause damage. If tightening the fittings does not stop the leak, it may indicate a more severe problem, such as a crack or corrosion in the tank itself. In such cases, further inspection and potential replacement of the affected parts will be necessary to resolve the issue effectively.
Check for Corrosion and Damage
Examine the exterior and interior of the water heater tank for signs of corrosion, rust, or other damage. Corrosion can weaken the tank and lead to leaks, especially at the bottom where sediment tends to accumulate. If you find significant corrosion or damage, it may be time to consider replacing the water heater. Addressing corrosion promptly can prevent leaks from worsening and extend the lifespan of your water heater. Regular maintenance, such as flushing the tank to remove sediment and checking for early signs of corrosion, can help maintain the integrity of the water heater and reduce the risk of leaks.
Contact a Professional Technician
If you cannot identify the source of the leak or if the problem appears to be severe, contact a professional plumber. A licensed plumber has the expertise and tools to diagnose and repair water heater issues effectively. They can also advise on whether a repair is sufficient or if it’s time to replace the unit. Professional assistance ensures that the repair is done correctly and safely, restoring your water heater to optimal performance and preventing further damage. Additionally, a professional plumber can provide valuable maintenance tips to help you avoid similar issues in the future and keep your water heater running efficiently.
